This tutorial will walk you though the steps to get our Laravel React application up and running with persistant storage using MySQL. It's purpose is to fast-track your apps ability to persist authentication across session, while given you an introduction to Laravel's migration service and ORM.
At the end, your application will be able to persist authentication across sessions, and persist data. You can run it locally, or install on your BigCommerce store.
Prerequisites
Before jumping in, you’ll want to make sure you are up to speed with our previous tutorial in this series. (Link to Guide) Furthermore, you should have installed MySQL or similar on your local machine - maybe you already have a server running you can use. We won't provide the steps here on how to install, but we have some links to some great resources:
- MacOS (Installation Guide)
- Windows (Installation Guide)
Setting up a new Database and User
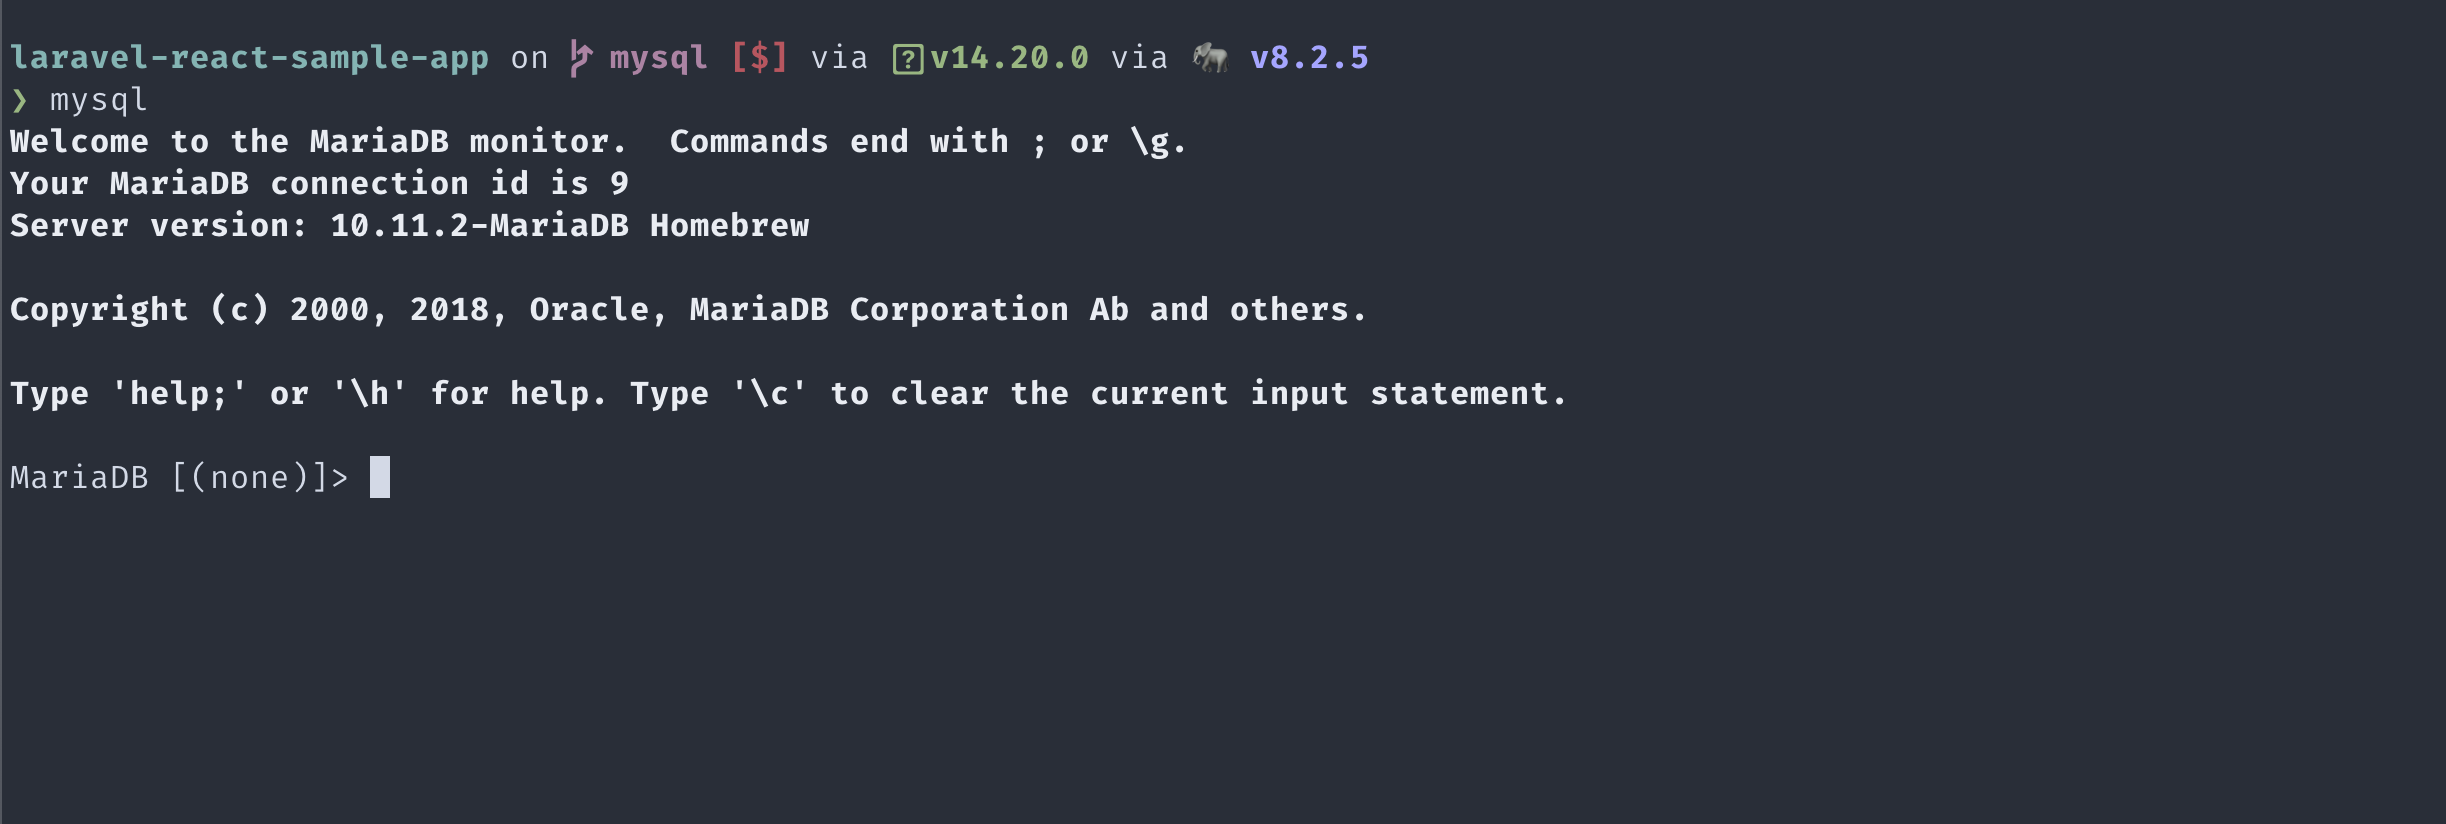
Our journey starts in the terminal by connecting to our mySQL server
mysqlYour prompt should look something like this:
Let's create a new database for our app:
CREATE DATABASE laravel_react_sample_app;Next we will create a dedicated user to use with our newly created database. In this example laravel is the username and password is the password. Change to something appropriately.
CREATE USER 'laravel'@'localhost' IDENTIFIED BY 'password'Next up we will grant user permissons. Do note that you might not want to grant all privileges in production. Please consult with the MySQL documentation (Available MySQL Priviledges)
GRANT ALL PRIVILEGES ON laravel_react_sample_app.* TO 'laravel'@'localhost' WITH GRANT OPTION;Let's flush the privileges to make sure they are taking into effect
FLUSH PRIVILEGES;Lastly, we can verify the users permissions
SHOW GRANTS FOR 'laravel'@'localhost';It should look something like this in your terminal
+----------------------------------------------------------------------------------------------------------------------------------------------------------------------------------------------------+
| Grants for laravel@localhost                                                                                                                                                                       |
+----------------------------------------------------------------------------------------------------------------------------------------------------------------------------------------------------+
| GRANT SELECT, INSERT, UPDATE, DELETE, CREATE, DROP, RELOAD, REFERENCES, ALTER ON *.* TO `laravel`@`localhost` IDENTIFIED BY PASSWORD '*74EA68F9C1CEABA1DA3671D46ADC6535EACD8163' WITH GRANT OPTION |
| GRANT ALL PRIVILEGES ON `laravel_react_sample_app`.* TO `laravel`@`localhost` WITH GRANT OPTION                                                                                                    |
+----------------------------------------------------------------------------------------------------------------------------------------------------------------------------------------------------+
Exit the MySQL server by executing
quit;Setting up MySQL in Laravel
Setting up the connection between your Laravel project and the MySQL database only require us to add our connection information to the projects .env file found in the projects root folder
DB_CONNECTION=mysql
DB_HOST=127.0.0.1
DB_PORT=3306
DB_DATABASE=laravel_react_sample_app
DB_USERNAME=laravel
DB_PASSWORD=password
Let's test it out to make sure we are connected to our database. By inserting the following snippet temporarily into ./resources/views/app.blade.php we will be able to connect to our MySQL database and output the database name, if everything went ok.
Insert the snippet between the <body>...</body> tags:
    <strong>Check DB Connection: </strong>
    <?php
        try {
            \DB::connection()->getPDO();
            echo \DB::connection()->getDatabaseName();
            } catch (\Exception $e) {
            dd($e);
        }
    ?>
If something has gone, you should see an error message similar to these, that can help you pin point what the issue might be:
#message: "SQLSTATE[HY000] [1045] Access denied for user 'wrong_username'@'localhost' (using password: YES)"
---
#message: "SQLSTATE[HY000] [1049] Unknown database 'I_DONT_EXIST_DB'"
Remember to remove the snippet when you are done verifying the connection is established.
Migrations
Migrations are like version control for your database, allowing us to define and share the application's database schema definition. Laravel provides built-in tools for creating and modifying database tables and columns.
Before we start creating our migrations, let's revisit ./app/Http/Controllers/MainController.php to summarize the steps we are currently taking to authorize our app.
In our install function, if the $statusCode returns 200 we store store_hash,access_token, user_id, and user_email in our session for later retrieval.
In load function, if our request is verified we store user_id, user_email, owner_id, owner_email, and store_hash in our session for later retrieval.
In getAccessToken and getStoreHash we can see that in both cases requests are being made to the session so this will be the minimal viable values that we want to store in our database.
However, for convenience sake, let's expand our table with all the values mentioned above, and a few more that can be used for supporting multi-user apps later on.
Our final table will looks like this:
| user_id | user_email | locale | store_hash | account_uuid | access_token | timestamp | date_created |
|---|
Creating our first migration
To create a new migration, first navigate to the projects root folder and execute the following command:
php artisan make:migration create_bc_auth_tableThis command will generate a new migrations file in ./database/migrations.
Laravel will use the name of the migration command to attempt to guess the name of the table and whether or not the migration will be creating a new table.
If Laravel is able to determine the table name from the migration name, Laravel will pre-fill the generated migration file with the specified table.
It should be named something like this <timestamp>_create_bc_auth_table.php, open the file and let's add our columns.
Replace the up() function with the follwing:
    public function up(): void
    {
        Schema::create('bc_auth', function (Blueprint $table) {
            $table->unsignedBigInteger('user_id');
            $table->string('user_email', 255);
            $table->string('locale', 255);
            $table->string('store_hash', 255);
            $table->string('account_uuid', 255);
            $table->string('access_token', 255);
            $table->integer('timestamp');
            $table->date('created_at');
            $table->date('updated_at');
        });
    }
You can find additional column types here (Available Column Types)
We can then attempt to create the database table:
php artisan migrate --path=/database/migrations/<timestamp>_create_bc_auth_table.phpIf we log back into our MySQL server, we should now be able to see the table and columns created by the migration:
USE laravel_react_sample_app; SHOW COLUMNS FROM bc_auth;

+--------------+---------------------+------+-----+---------+-------+
| Field        | Type                | Null | Key | Default | Extra |
+--------------+---------------------+------+-----+---------+-------+
| user_id      | bigint(20) unsigned | NO   |     | NULL    |       |
| user_email   | varchar(255)        | NO   |     | NULL    |       |
| locale       | varchar(255)        | NO   |     | NULL    |       |
| store_hash   | varchar(255)        | NO   |     | NULL    |       |
| account_uuid | varchar(255)        | NO   |     | NULL    |       |
| access_token | varchar(255)        | NO   |     | NULL    |       |
| timestamp    | int(11)             | NO   |     | NULL    |       |
| created_at   | date                | NO   |     | NULL    |       |
| updated_at   | date                | NO   |     | NULL    |       |
+--------------+---------------------+------+-----+---------+-------+
Create a model
Laravel includes Eloquent, an object-relational mapper (ORM) that makes it enjoyable to interact with your database. When using Eloquent, each database table has a corresponding "Model" that is used to interact with that table. In addition to retrieving records from the database table, Eloquent models allow you to insert, update, and delete records from the table as well.
To create a new model execute the following command:
php artisan make:model BCAuthWe also need to make sure that our MainController can use our model.
Open up /app/Http/Controllers/MainController.php, and add use App\Models\BCAuth; to the list of use clauses.
note to self, we need those other users account information to support multi user.